Hey there, pottery enthusiasts! I'm thrilled to dive into the world of glazes with you today. As a professional potter, I’ve seen first-hand how glazes can take your pottery from ordinary to extraordinary. Let's jump in and explore some stunning glaze tricks that will transform your creations!
Understanding Glazes
First things first: let's talk about what glazes are. Essentially, they’re a glass-like coating that gets applied to your pottery before glaze firing. They consist of a few main components: glass-formers (like silica), stabilisers (think clay), flux (to regulate the firing temperature of the glaze) and colourants (metal oxides and stains). Different types of glazes, such as gloss, matte, and satin, create distinct finishes on your work.
The firing temperature plays a big role in how glazes behave. Low-fire glazes work best with earthenware clay, while high-fire glazes suit stoneware and porcelain. When I first started, I was blown away by the vivid colours and smooth finishes of gloss glazes, but I soon learned how beautiful matte and satin glazes could be too. In my arsenal of glazes I now produce a combination of glossy, matt, mottled and opaque glazes.
Preparing Your Pottery for Glazing
Before you jump into glazing, make sure your bisque-fired pieces are prepped and ready. That means cleaning any dust and smoothing rough spots. I like to lightly sand the edges for a polished look with a sand paper and use a damp sponge to remove any dust off of the pieces.
Choosing the right glaze for your clay type and firing method is crucial. Test glazes on small tiles or test pieces before committing to a large piece. Trust me, I've learned this the hard way! One time, I didn't test a new glaze on a different clay body, and it reacted in the kiln, causing an unexpected (and unwanted) effect. This is all part of the process though.
Dip Glazing for Even Coverage
Dip glazing is one of the most common and efficient ways to glaze your pottery especially if you are a small scale production potter . By dipping your bisque-fired piece into a bucket of glaze, you achieve even, consistent coverage.
To avoid drips and pooling, tap the piece gently on the edge of the bucket and rotate it to remove excess glaze. I once had a mug ruined by a thick pool of glaze at the bottom—definitely not a fun surprise after firing! Keep an eye on the thickness of your glaze layer for best results.
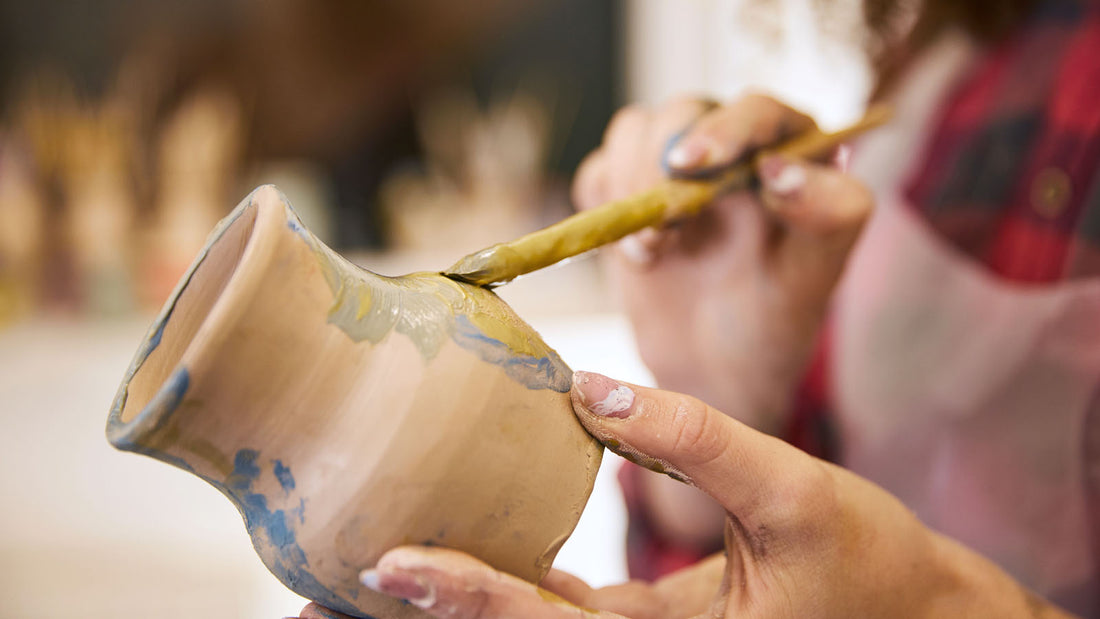
Brush Glazing for Creative Control
Brush glazing is perfect for adding intricate designs and patterns. You can use different brush sizes and types depending on the effect you're going for. I use this technique a lot in my work. I like the control that it gives and opens up possibilities of decorating a piece with multiple glazes for a truly unique look.
Experiment with layering glazes using different brush strokes for unique results. Create gradients or layered designs by blending colours while the glaze is still wet. I remember creating a stunning ocean effect on a platter by blending two of my glazes, one was a high gloss greenish blue glaze (for the water effect) while the other glaze was an opaque beige glaze for the beach affect.
Spraying Glaze for Soft Blends
Using a spray gun or atomizer to apply glaze can give your pieces a smooth, even finish with soft blends. Always wear proper safety gear like goggles and a mask when working with spray equipment. You should consider creating a spraying booth in your studio with proper ventilation for this technique.
Spray glazing is a great way to experiment with colour blends and gradients. Try holding the spray gun at different angles or distances for varied effects.
Unique Glaze Effects and Techniques
Let's get into some special techniques that can add depth and texture to your work:
- Sgraffito: Carve designs into the clay through the glaze for a beautiful layered effect. Use sharp needle like tools to carve out a design on an already glazed piece. The needle tool will scrape off the glaze and leave you with an interesting, contrasting effect.
- Wax resist: Use wax to block areas where you don’t want glaze to adhere. The wax burns away during firing, leaving behind clean lines or patterns.
- Mishima: Inlay coloured slip into incised designs for intricate patterns.
Creating textured or crackle effects with glazes can also add visual interest. Experiment with lava glazes or try mixing different glazes for unique finishes.
Layering and Combining Glazes
Layering and combining glazes can lead to beautiful, complex effects. Try mixing gloss and matte glazes or combining opaque and transparent glazes to achieve depth and dimension.
Tips for Firing Glazed Pieces
When firing glazed pieces, consider placement in the kiln carefully. Keep pieces spaced apart to avoid sticking or running.
Follow firing schedules recommended for your glazes. For example, avoid quick temperature changes to prevent issues like pinholes, crazing, and crawling. Consider adding a soaking time in your firing schedule.
My personal advice is to keep a detailed firing log, noting kiln settings, glaze combinations, and results initially. This way, you can replicate successes or avoid repeating the same mistakes.
Conclusion
I hope these glaze tricks inspire you to take your pottery to the next level! Play around with different glazing methods and effects to find your unique style. Don't be afraid to experiment—some of my best pieces came from unexpected glaze combinations.
Happy glazing, and enjoy the transformation your pottery will undergo!